17.07.2026 - Testowa
Apartment Finishing Step by Step – Timeline and Key Stages
Where Should You Start?
Every successful apartment finishing project begins with thorough preparation. Before any contractors start work, you should have:
- An interior design project.
- A detailed budget estimate.
- A comprehensive work schedule.
This is the stage where you'll decide on the wall layout, electrical and plumbing installations, flooring, tiles, and finishing materials. Making changes later can significantly increase costs and delay the project.
During the planning phase, ask yourself a few key questions:
- Do you want to manage the finishing work yourself or hire a professional company?
- What is your overall budget, and how much can you allocate to each room?
- In what order should the work be carried out so that different contractors don't interfere with one another?
- Which materials have you selected, and will they be available when needed?
If you're wondering how much it costs to finish an apartment, it's worth calculating this before signing contracts with contractors. Understanding current market rates will help you evaluate quotations realistically and avoid overpaying.
What Is the Correct Order of Work?
Following the proper sequence is essential to avoid situations such as having to remove newly installed tiles because you forgot to add an electrical outlet. Below is the workflow commonly followed by experienced apartment finishing teams.
Stage 1: Structural Work and Layout Modifications
The first step involves any changes to partition walls. If you plan to remove or build walls, create recessed niches, or block up door openings, these tasks should be completed before anything else.
This is also the time to install suspended ceilings and framing for built-in cabinetry.
At this stage, the apartment should be completely empty and free of any finishing materials.
Stage 2: Electrical, Plumbing, and Ventilation Installations
Once the structural work is complete, installation work begins.
The electrician marks and cuts channels for wiring, installs electrical boxes, and prepares the distribution board. The plumber relocates water supply and drainage points according to the approved design.
This is the final opportunity to modify the routing of pipes and electrical cables, so the design should already be finalized.
Stage 3: Plastering, Wall Finishing, and Floor Screeds
After all installations are complete, walls and ceilings need to be leveled.
Plaster covers installation channels and creates smooth wall surfaces. Self-leveling or cement screeds are applied to the floors, providing a solid base for tiles or other floor finishes.
These materials require sufficient drying time, so be sure to include the necessary curing periods in your project schedule.
Stage 4: Tiling in the Bathroom and Kitchen
Once all surfaces are dry and properly prepared, tiling can begin.
Bathrooms and kitchens typically require the most extensive ceramic work. The tiler installs wall and floor tiles, builds bathtub or shower enclosures, and waterproofs vulnerable areas.
Only after the grout has completely cured should sanitary fixtures and bathroom fittings be installed.
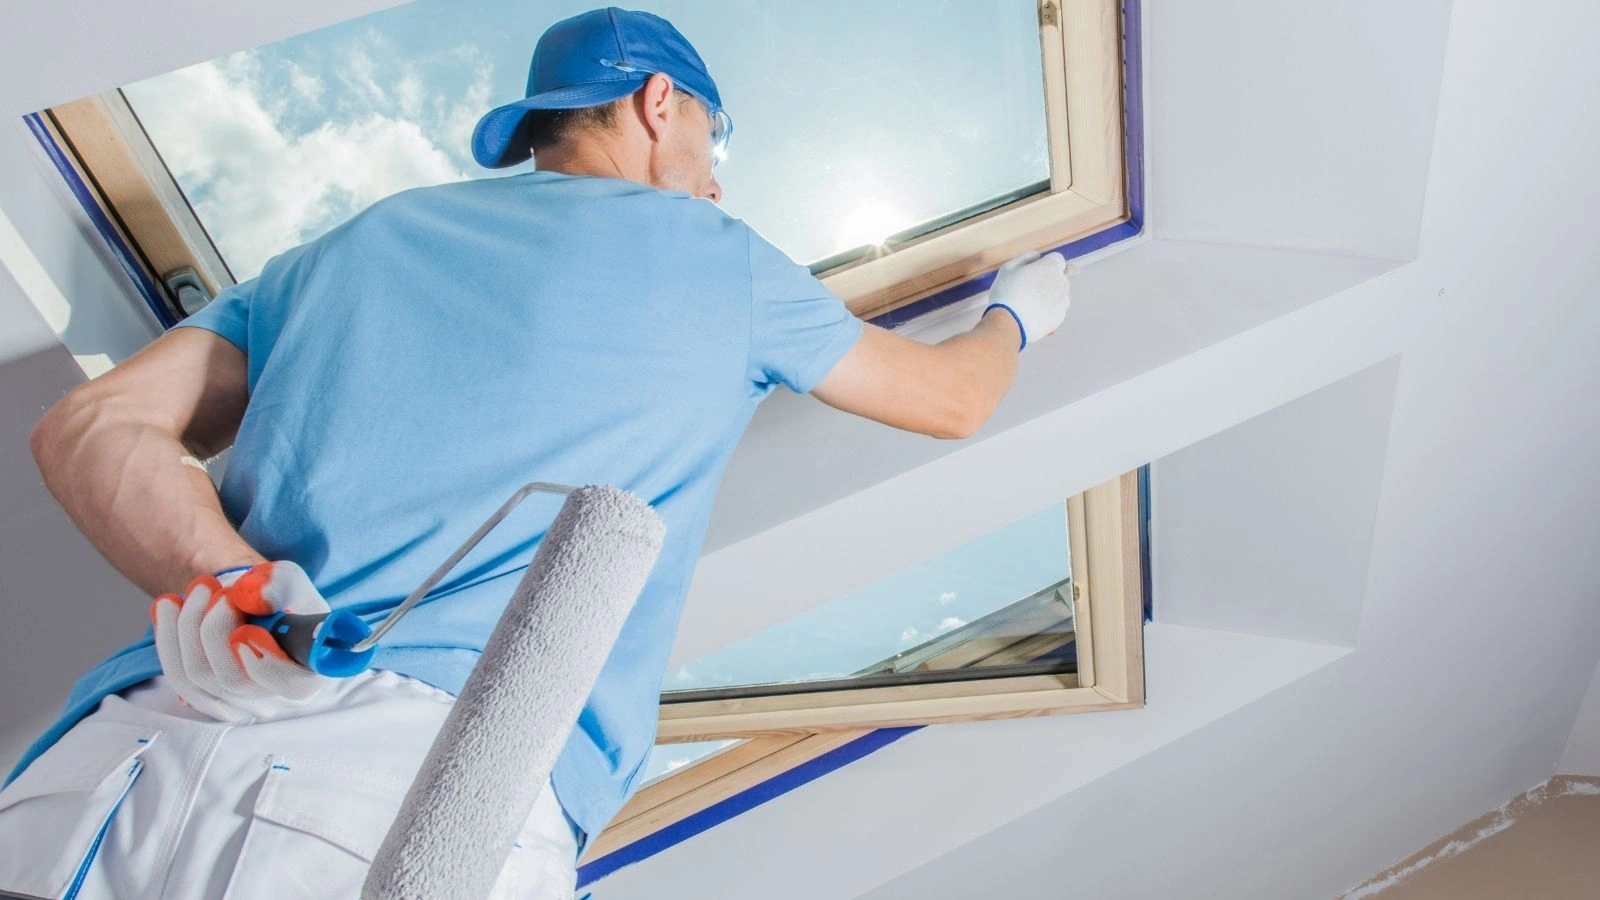
Stage 5: Painting Walls and Ceilings
Painting takes place after all wet construction and tiling work has been completed.
Walls are filled, sanded, and primed before the selected paint is applied.
In rooms with tiled walls, only the exposed wall surfaces are painted.
Ceilings are best painted before flooring is installed to avoid damaging the finished floor.
Stage 6: Flooring Installation
Flooring should be installed only after all wet work and painting have been completed.
Laminate flooring, hardwood, or vinyl flooring is laid on a dry, level screed.
Skirting boards are usually installed at the very end, after furniture has been placed, allowing them to be cut precisely and conceal any expansion gaps.
Stage 7: Interior Door Installation
Interior doors should be installed after the flooring has been completed.
This allows the door frames to be adjusted accurately to the finished floor height. Installing doors too early may require costly adjustments or even replacement of the frames.
Stage 8: Kitchen, Built-in Furniture, and Cabinet Installation
With the floors and doors in place, carpenters or installation teams can begin fitting wardrobes, kitchen cabinets, and other custom-made furniture.
This is one of the most time-consuming stages, requiring precise measurements and careful workmanship.
The overall cost of a turnkey apartment is heavily influenced by the extent of custom joinery and kitchen fittings.
Stage 9: Lighting, Electrical Fixtures, and Home Appliances
At this point, the electrician returns to install power outlets, switches, lighting fixtures, and connect household appliances.
The plumber completes the installation of faucets, toilets, washbasins, and other sanitary equipment.
This is the penultimate stage before the apartment takes on its final appearance.
Stage 10: Decoration and Final Styling
The final step is furnishing and decorating the apartment.
This includes positioning freestanding furniture, installing curtain rails and curtains, hanging artwork, and adding decorative accessories.
This is when your apartment truly becomes a home.
What Else Should You Keep in Mind?
Finishing an apartment in developer standard is not only about following the correct sequence of work—it also requires choosing reliable contractors.
Take the time to read reviews, verify previous projects, and sign detailed contracts that clearly define the work schedule and scope of services.
If you'd rather avoid the stress of coordinating multiple contractors, a turnkey apartment may be the ideal solution. In this model, one company manages the entire process—from interior design to the final cleaning.
By choosing a J.W. Construction development, you can take advantage of professionally managed interior finishing programs that eliminate the logistical burden while ensuring timely completion to the highest standards.
It's also wise to set aside a financial contingency fund. Even with careful planning, unexpected expenses can arise, such as additional floor leveling or design changes.
As a rule of thumb, you should reserve 10–15% of your total finishing budget for unforeseen costs.
FAQ – Frequently Asked Questions
What is the correct order for finishing an apartment?
The recommended order is: structural work, utility installations, plastering and screeds, tiling and sanitary ceramics, painting, flooring, interior doors, furniture and built-in cabinetry, lighting and appliances, and finally decorative finishing.
Where should I start when finishing an apartment?
Start with an interior design project and a detailed budget estimate. Without a finalized design, it's difficult to plan installations, tile layouts, or furniture placement. Once the design is complete, you can begin hiring contractors and ordering materials.
What is the proper sequence for renovation work?
Renovation work should always progress from the "dirtiest" to the "cleanest" tasks: demolition and structural modifications, installations, plastering, wet works (tiling and screeds), painting, flooring and doors, furniture installation, electrical fixtures, and finally decorative finishing.